

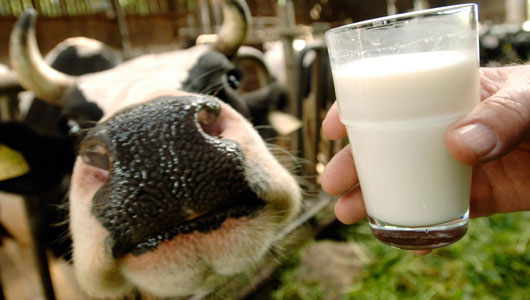
During our quest to find more probiotics to add to our diet, we found a local dairy in Arizona that sells raw milk very close to our home. They are the only dairy in AZ that can legally sell raw milk for human consumption, we are soooo lucky! Read more about them here www.saveyourdairy.com

I plan to post more about raw milk soon. Why I drink it now (sparingly) and why I use it to make yogurt, kefir, and whey. We will cover the benefits of drinking it, the reason why raw milk HEALS, and why we should not be scared of it.
Until then I am going to share with you my raw milk yogurt recipe (since I made a fresh batch for my family today I thought I should share). I have also included modified instructions on how to make it with store bought pasteurized and homogenized milk.
Why make yogurt at home?
- It tastes better
- It is better for you (no preservatives, dyes, sugars, or chemicals added)
- It's less expensive
- There is no packaging waste
- Plus it is easy and a great way to get kids involved in cooking
How to Make Homemade Yogurt
I use a Euro Cuisine YM80 Yogurt Maker - I bought it on amazon here is a quick link for you to check it out:

I really like the simplicity of this yogurt maker, but I also do not have anything to compare it to. It was the first one I bought and I mostly went off other people's reviews. It just has an on/off button and numbers on the side that you can place the "marker" onto remind you when your yogurt will be done (there is no timer).
It comes with 7 perfectly sized glass jars with lids, great to take on the go for a healthy hi-protein, probiotic filled snack.
Ohh and did I tell you... home made yogurt (especially from raw milk) is AMAZING!
Ingredients:
- 4 cups (or 1 quart) fresh raw milk, whole, skim or partly skimmed (try to get the best milk you can)
- 4 tablespoons (or 1/4 cup) plain yogurt, from the store. I use Chobani Plain Non Fat Greek Yogurt
Prep:
1. Heat raw milk in stainless steel pot to 110° F (43° C), if using pasteurized and homogenized milk heat to 160-170 to kill the bacteria then bring back down to 110° F. Note do not heat the raw milk to above 110 otherwise you will kill off the good probiotics found in the amazing raw milk.
2. Remove from heat.
3. Add in the store bought plain yogurt and whisk thoroughly.
4. Pour into the glass jars for the yogurt maker. **do not put on the lids. Follow your manufactures instructions.
5. Place jars in the yogurt maker, let it incubate in the yogurt maker, without disturbing, for 8 hours or until firm. The yogurt maker simply keeps the jars at the perfect temperature during the time needed to set the yogurt.
6. Remove jars and refrigerate until ready to use. I have found it thickens up after 2 hours in the fridge. Since raw milk isn't homogenized you may find that milk fats (cream) have floated to the top and formed a layer at the top of the yogurt, the same as in milk. This is normal... enjoy the rich creamy taste. :)
Do you use a thermometer? How do you know it is 110F?
ReplyDeleteYes I do. I have a candy thermometer that I use. However, to be honest if you get it to the temp that is just warm on your knuckle and the milk is just starting to coat or "climb" the pot walls, that is warm enough.
ReplyDeleteGood to know. So last week I was planning on making my own "Go-gurts" since my girls love to eat them frozen (me too!) with Chobani plain yogurt mixed with fresh fruit and use silicone tubes I saw on Amazon. I had thought about making my own yogurt for awhile now but didn't know it could be so easy! So now I'm going to take it once step further and make my OWN yogurt instead. I ordered the yogurt maker along with the silicone tubes and should have it all here in a couple days. I'll let you know how it turns out and if I need to come borrow that thermometer ;)
ReplyDeletelook at you! So glad we could help you take the next step! Yes let me know if you need to borrow the thermometer. Remember the yogurt will not be a thick as store bought because they add back in powdered milk to thicken it.. yuck! So if you do not like the texture, let me know I have some tips.
Deletehttp://www.amazon.com/gp/product/B008D8ULPK/ref=oh_details_o00_s00_i03?ie=UTF8&psc=1
ReplyDeleteLink to the silicone tubes if anyone is interested. I'm all about better-for-you and also better-for-the-environment.
Thanks Joanne!
Delete